Home Blinds Installation: Your No-Stress Move-In Playbook for Canadian Homes
Moving Day, Meet The Windows You Forgot
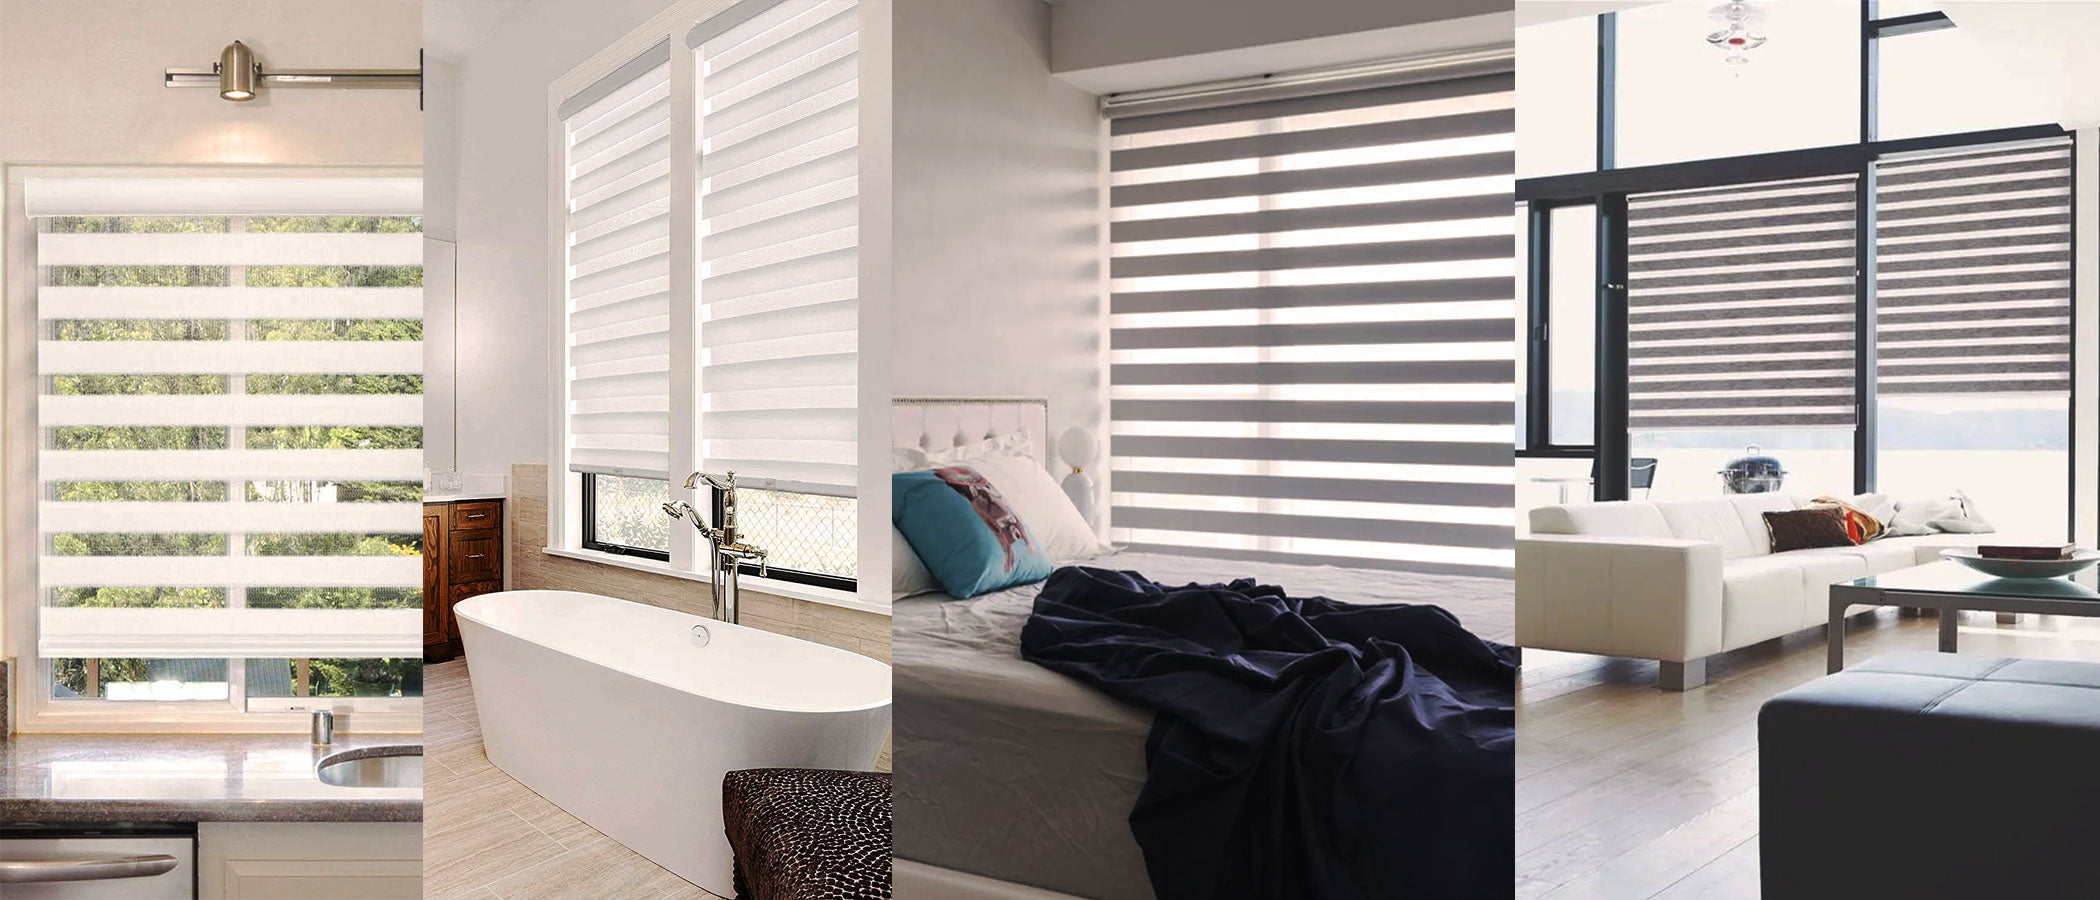
You hauled the sofa, found the kettle, got the Wi-Fi working…then sunset hits and your neighbours get a front-row view of your living room. Bare glass also means 5 a.m. glare, drafty winter nights, and faded furniture. Good home blinds installation fixes all of that fast—privacy, light control, and energy comfort in one project you can finish this weekend. This guide breaks the process into clear steps any new homeowner or renter can follow: how to choose the right style, measure for an inside mount vs outside mount, gather tools, complete a safe home blinds installation, and know when it’s smarter to call a pro.
1. What Counts as “Home Blinds Installation”?
In plain language: you (or a tech you hire) attach brackets to the window frame or wall, clip in a headrail, test lift/tilt, and trim any finishing pieces. But real-world home blinds installation decisions start earlier—picking the correct blind type, lift system (corded vs cordless blinds), mount position, and fabric opacity. Get those upstream choices right and the install goes smoothly; get them wrong and you’ll re-drill holes, return products, or live with gaps.
2. Pick Your Blind Type Before You Pick Up a Drill
Different products solve different problems. Use this short list to match the blind to your room goals, then we’ll map it to home blinds installation steps.
|
Blind / Shade Type |
What It Solves |
Good For |
Notes |
|---|---|---|---|
|
Zebra roller blinds |
Quick switch between view-through & privacy |
Living rooms, offices |
Dual fabric stripes; great for variable light. |
|
Light-filtering shades |
Soft glow, reduce glare, keep view blur |
South or west windows |
Polyester weaves; pair w/ drapery for style. |
|
Blackout blinds / day-night combo |
Sleep & media rooms |
Bedrooms, nurseries |
Layered or dual cassette designs. |
|
Cellular (honeycomb) shades |
Extra insulation, energy savings |
Cold climates, drafty windows |
Air pockets boost thermal performance. |
|
Faux-wood or aluminum slat blinds |
Budget privacy w/ tilt control |
Rentals, basements |
Durable; easy wipe-clean. |
|
Vertical or panel track |
Wide spans & patio doors |
Sliding doors |
Glide sideways; minimal stack. |
|
Motorized blinds |
Hard-to-reach windows; automation |
Tall foyers, tech homes |
Remote or smart-home control. |
We’ll refer back to these as we move through home blinds installation techniques.
3. Inside Mount vs Outside Mount (Critical Pre-Install Choice)
Inside mount tucks hardware inside the frame for a clean, built-in look. Requires enough frame depth for the cassette or headrail (check product specs). It’s the most common approach to a streamlined home blinds installation in newer builds.
Outside mount places brackets on the wall or trim above the window. Choose this if:
-
Your frame depth is too shallow for cordless blinds cassette.
-
You want to cover light gaps or ugly trim.
-
You need extra blackout performance (outside mount reduces glow lines).
Quick rule: If you can seat a pencil flat inside your jamb and still close the window without rubbing, you probably have enough depth for a standard inside mount—but confirm measurements, not vibes.
4. Measure Once, Install Once (Okay, Measure Twice)
Accurate sizing is 80% of home blinds installation success. Grab a steel tape (not cloth). Record all numbers width × height in the same unit (inches or millimetres).
4.1 Inside Mount Measuring
-
Width: Measure tight inside jamb at top, middle, bottom. Use the narrowest result.
-
Height: Measure left, center, right. Use the tallest result so the blind clears sill variations.
-
Depth: Measure from front edge of trim back to glass or obstruction. Compare to product’s minimum depth requirement (zebra roller blinds often need ~59–70 mm depending on cassette; see actual product specs).
4.2 Outside Mount Measuring
-
Decide how much overlap you want beyond the opening—commonly 2–3 in (5–7.5 cm) each side for blackout blinds.
-
Width = opening + overlap ×2.
-
Height = top of desired mounting point down to just below sill (or to floor for full-length coverage).
-
Confirm there are no obstructions (moulding crowns, alarm sensors).
Bookmark this detailed DIY walkthrough before you cut: How to Install Zebra Blinds. It includes photos of inside mount vs outside mount drill points.
5. Tools & Prep Checklist for Home Blinds Installation
Essential: Drill + bits, level (bubble or laser), #2 screwdriver, pencil, tape measure, supplied screws, brackets, drywall anchors (if no stud), and safety glasses.
Nice-to-Have: Impact driver, stud finder, blue painter’s tape for pilot marks, small vacuum for drywall dust.
Before starting home blinds installation:
-
Lay parts on a towel to protect finishes.
-
Confirm you have equal left/right brackets (some are handed).
-
Read the quick-start sheet; zebra roller blinds and motorized blinds may reverse controls depending on fabric roll direction.
-
If cordless blinds, do a pull test so you understand tension.
6. Step-By-Step: Standard Cordless Roller / Zebra Style
This core workflow covers most light-filtering shades and zebra roller blinds; blackout models add side channels but the basics hold.
-
Mark Bracket Holes (inside mount)
Hold bracket flush in upper inside corner; mark slot holes. Repeat opposite side. Use level across both marks—crooked brackets = crooked fabric roll.
-
Pre-Drill
Use a bit slightly smaller than the mounting screw. For metal frames, self-tapping screws may be included.
-
Anchors (Drywall / outside mount)
If you’re outside mounting above a hollow header, insert drywall anchors or tap into a stud when possible; heavier blackout blinds need solid bite.
-
Secure Brackets
Tighten until snug; do not over-torque or you’ll warp thin metal.
-
Snap Headrail / Cassette
Angle the rear lip into bracket, rotate forward until it clicks. Tug gently downward to confirm lock.
-
Level Check
Lower the blind halfway. If fabric telescopes to one side, your brackets aren’t square; loosen and shim.
-
Test Lift
Cordless blinds should rise smoothly with a gentle upward push; if ratchety, check that side caps aren’t pinched.
-
Final Adjust
For zebra roller blinds, roll until stripes align; verify full blackout mode.
Congratulations—your first home blinds installation is live.
7. Installing Cellular (Honeycomb) Shades: Extra Notes
Cellular shades are kings of insulation, but the rail tolerances are tight. During home blinds installation:
-
Use a center support bracket on spans >36 in (91 cm) to prevent sag.
-
Keep shades compressed in the factory wrap until mounted to avoid twisting pleats.
-
Side tracks (optional) improve thermal and blackout performance—follow manufacturer spacing exactly.
For why these matter, see the U.S. Department of Energy’s overview of window coverings performance. The DOE notes insulated cellular shades can meaningfully reduce heat loss in winter and cut solar heat gain in summer when tightly installed.
8. Child Safety & Cord Regulations
Dangling cords are a strangulation hazard for children and pets. Canada has national requirements limiting hazards from corded window coverings; manufacturers have shifted toward cordless blinds, breakaway devices, and shrouded chains. Review official guidance before any home blinds installation that involves cords: Health Canada – Corded Window Coverings Safety Guidance. When in doubt, choose cordless or motorized blinds—both count as child-safe blinds for most households.
9. Energy, Comfort & Seasonal Use
Window glass is a major path for heat loss and solar gain. Tight-fitting coverings—especially cellular/honeycomb and well-sealed blackout blinds—add an insulating layer. Reflective slat blinds can redirect summer sun toward the ceiling; light-filtering shades soften glare without darkening a room; motorized blinds can auto-close during peak heat. The DOE reference above shows how different coverings affect thermal performance; using them strategically after home blinds installation multiplies energy savings.
10. Common Mistakes (and Quick Fixes)
|
Mistake |
Symptom |
Fix in Your Home Blinds Installation |
|---|---|---|
|
Ordered width = rough opening |
Blind scrapes jambs |
Deduct manufacturer’s recommended clearance (varies). |
|
Skipped depth check |
Cassette protrudes |
Switch to outside mount or low-profile headrail. |
|
No anchors in drywall |
Bracket loosens |
Replace with proper drywall anchors / toggle bolts. |
|
Mounted too low |
Blind hits window crank |
Use spacer blocks or outside mount above trim. |
|
Mixed screws |
Uneven grip |
Use included hardware; length matters in metal vs wood. |
11. When to DIY vs Call a Pro
DIY home blinds installation is realistic if you:
-
Can drill straight pilot holes.
-
Have a ladder for upper windows.
-
Are okay measuring multiple windows carefully.
Hire a pro when:
-
You have bay, bow, or angled windows.
-
You’re installing motorized blinds that need power routing.
-
You rent and can’t damage trim—pro may use no-drill mounts.
-
You just want it done right, fast.
Bookable Help
Rideau Zebra offers a paid onsite install. Ideal if your first home blinds installation is in a high stairwell or you’re short on tools.
12. Care After Installation
Good care extends the life of your home blinds installation:
-
Dust monthly with a microfibre duster set to low static.
-
Spot-clean polyester with mild dish soap; blot, don’t scrub.
-
Once a season, fully extend and retract cordless blinds to keep springs balanced.
-
For motorized blinds, check battery charge cycle (see product manual).
More hands-on visual help (mount orientations, pilot hole photos) lives in our step-through blog: How to Install Zebra Blinds.
13. Putting It All Together
You don’t need to be “handy” to get pro-looking results. Choose the right style (zebra roller blinds for adaptable light, blackout blinds for sleep, cellular for insulation, custom window coverings for odd sizes), measure carefully, decide on inside mount vs outside mount, and follow the bracket-drill-snap sequence. With one successful home blinds installation under your belt, the rest of the house goes faster—and you’ll sleep better knowing you picked child-safe blinds, protected furniture from sun, and trimmed energy costs.
Ready to start? Grab measurements, compare styles, and if you hit a snag, schedule the Professional Window Blind Installation Service. For a visual refresher any time, open How to Install Zebra Blinds. Your windows—and your privacy—will thank you.